Showing posts with label Bread. Show all posts

Friday, December 8, 2017

My Favorite Things Party 2017

I always look forward to Margaret Ann and Nancy's My Favorite Things party each year. If you're looking for a different party theme than the traditional "Secret Santa" or "White Elephant," check out last year's post to get more details on how this works.

I was especially glad that Keely joined me this year. Check out her beautiful and delicious Nutella braided wreath . . . only two ingredients! (Recipe adapted from Fit Mitten Kitchen.) I made traditional red velvet cookies to share.


Keely's Nutella braided wreath

Now, back to the party. The rule is that your favorite thing must not cost more than $11. Here is what I brought to past parties that still remain as some of my favorites:
One of my favorite things in general is a simple tea towel. I started collecting them years ago as travel souvenirs. I'd much rather have something I can use instead of a dust-collecting trinket of some kind. It doesn't bother me a bit that my tea towels with Rome, London, Wimbledon, Eiffel Tower, etc. may have a stain or two on them. Each tea towel is well loved, and the memories each bring are well loved. So, my favorite thing that I brought to this year's party is a Christmas tea towel I bought at Sanctuary South (one of my favorite gift shops) at the end of last season for 50% off. Keely still teases me that I'm thinking about what to bring a year in advance. But hey, this time the planning paid off!


As in previous years, I'm not able to capture everything. But here are at least some of the other favorite things from last night (in no particular order):
Hopefully, this list will give you lots of great ideas for stocking stuffers. Merry Christmas!

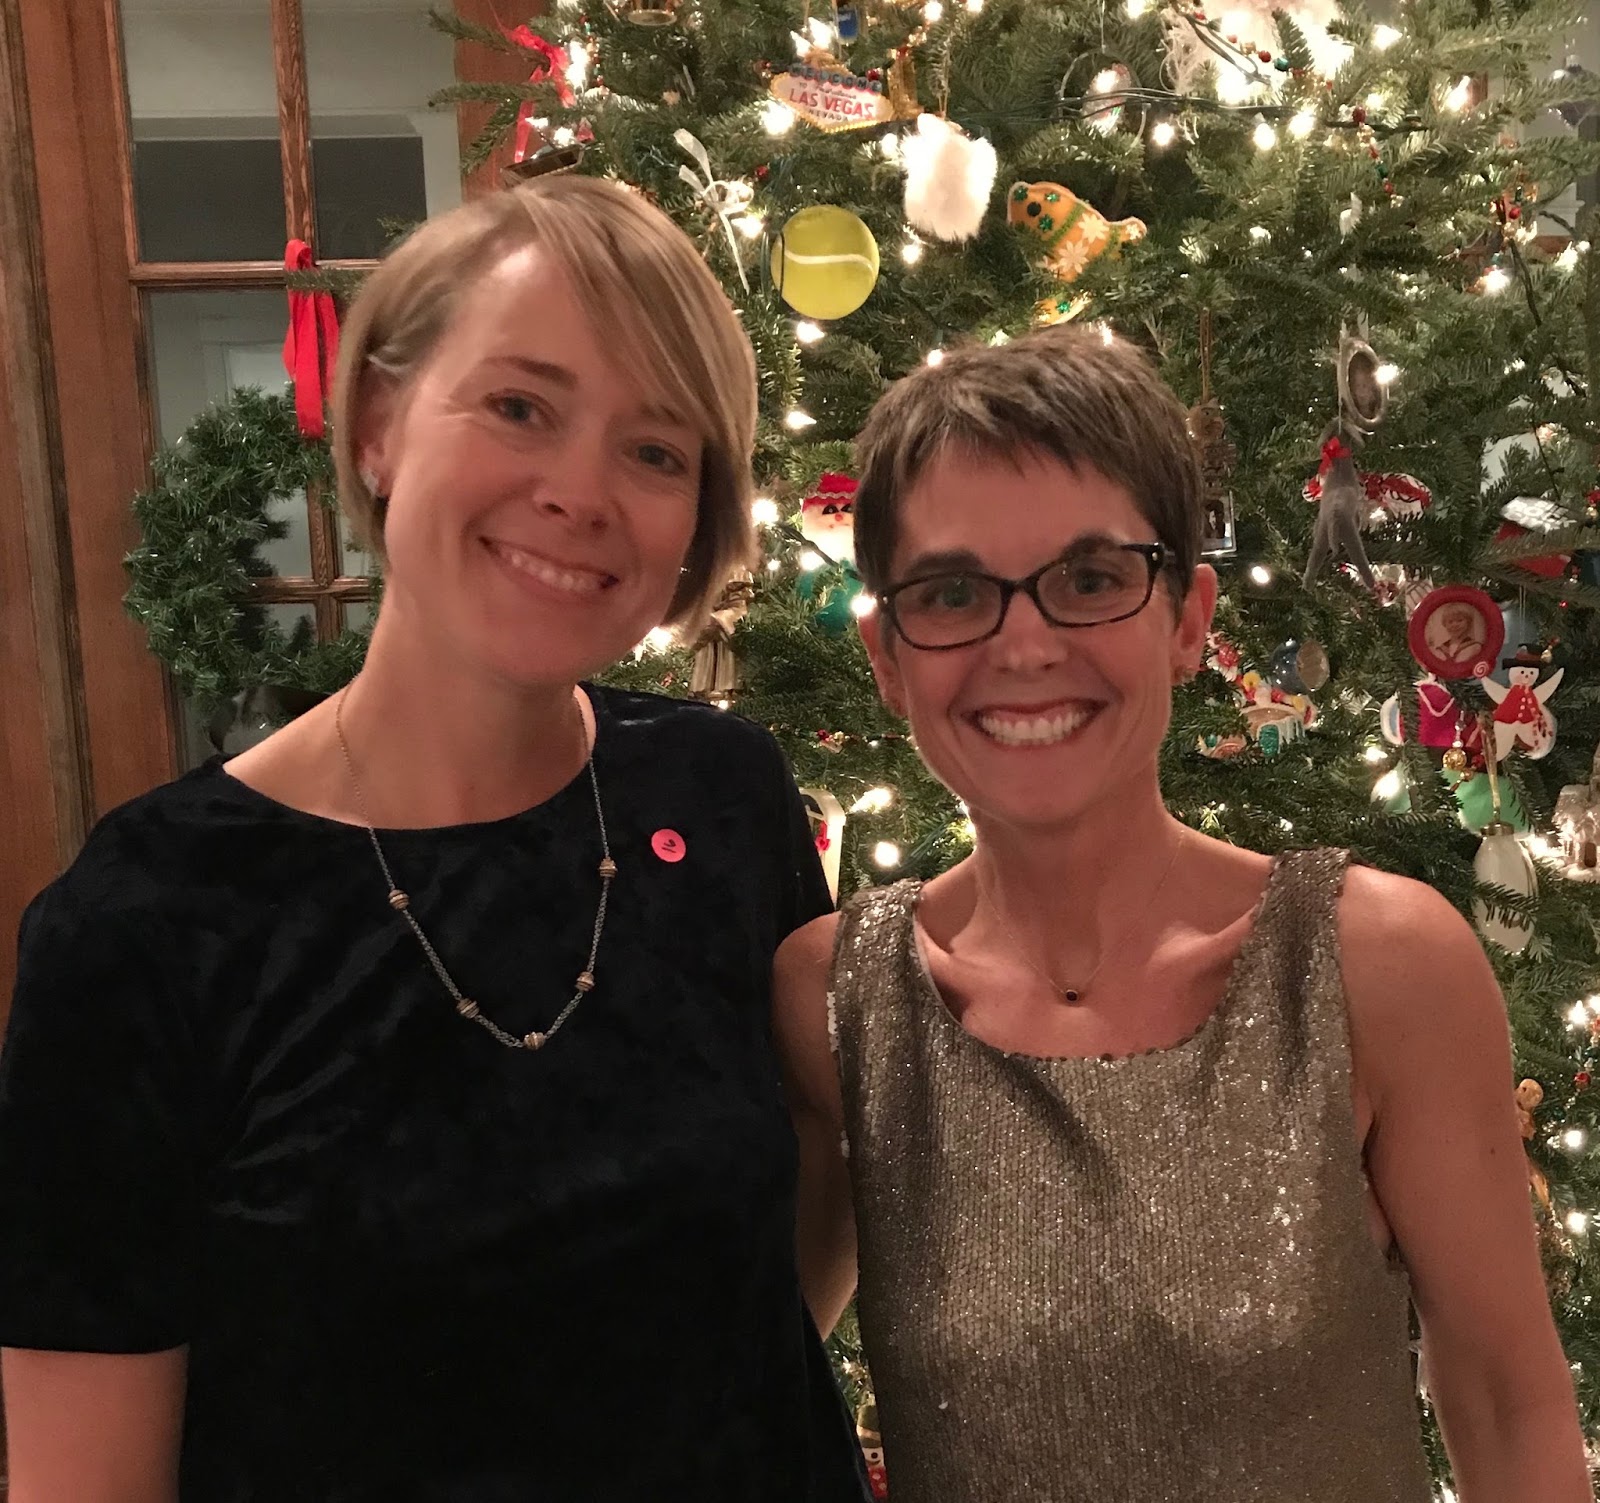
Nancy and Margaret Ann, our (ahem) VIPs for the night ;)
So much fun! I wish I had taken more pictures of the crowd!

Sunday, October 1, 2017

Pizza Dough

Keely sure does spoil me. For Mother's Day this year, she gave me a Big Green Egg! Ever since, I knew I wanted to learn how to make a great pizza on it. I began this journey by taking a "Bread, Butter, and Jam" cooking class in our community a few weeks ago, taught by my friend Sadira who is a wonderful cook. (Thanks, Sadira, for a wonderful lesson!) Most people who know me already know I make bread, but not this kind. This is artisan bread, which I thought would make a better pizza dough than my sourdough bread.

When Scott and Tina came down for a visit last weekend, I knew it would be the perfect time to experiment. Since I had never done this before, I didn't know how large each pizza would be. So just in case, I doubled the batch of dough. We ended up with a variety of six large pizzas for only three people. What the heck. We had a great time making them and an even better time sampling each one!

Prepare dough 1-5 days in advance.
Like my sourdough bread, it's best to know in advance and plan accordingly because the pizza dough is best when allowed to set for at least 1-5 days. I made my two batches of dough on a Tuesday given that we were going to make pizza on a Friday night. I placed each batch of dough in a gallon ziplock bag and then stored each in the refrigerator. By the fourth day, the dough had doubled in size.

Each batch of dough makes 3 large pizzas approximately 12-14" in diameter. Once the dough is divided, you basically just stretch and fold the dough 4 times, then allow the dough to rest for approximately 20 minutes. While resting, cover the dough with a thin wet dish towel to prevent the dough from drying out. Repeat the stretch-fold-rest cycle five times. For the last cycle though, let the dough rest for approximately an hour so that the dough will rise about 1.5 times in size.

"Stretch and Fold" 4 times for each loaf.
Rest for 20 minutes for each of the first four Stretch-Fold-Rest cycles.
Let dough rest about an hour for the final cycle so that it rises 1.5 times in size.
Now you're ready to make the crust. Place each round of dough onto a floured surface to remove some of the stickiness. Next, shape each round of dough into a thin pizza crust. I tried using a rolling pin, but letting it rotate in the air seemed to work better. (I'm definitely going to need more practice with this step. But seriously, who cares what the shape is?) Place on a pizza peel that has been generously coated with cornmeal so that it will easily slide off onto the Big Green Egg. Now for the fun part: choose your favorite toppings.

This isn't enough cornmeal. Use about twice this amount.
I'm working on the BBQ chicken pizza.

Tina and Scott are experimenting with their own toppings.

We went ahead and topped all of the pizzas. Next, slide one at a time onto the pizza peeler that has been generously coated with cornmeal. Bake each pizza for only 5 minutes in the Big Green Egg that has reached 500 degrees.

Scott's favorite: Olive oil, pesto, pizza blend cheese, sausage, sun-dried tomatoes, fresh oregano
Another favorite: Pesto, mozzarella, Roma tomatoes, bacon, fresh basil

Tina's invention: Olive oil, pimento cheese, pizza sauce, chicken, bacon, spinach, avocado, tomatoes, jalapeƱo peppers. So good!

White BBQ sauce, mozzarella, pulled chicken, cilantro, Rudy's BBQ sauce. Meh. Won't do this one again. 

Meat Lovers: Pizza sauce, pizza cheese blend, sausage, pepperoni, bacon, fresh oregano. Always a winner.

Another favorite: Olive oil, fig jam, mozzarella. Bake and top with prosciutto and arugula. 

The last one was my favorite as well as Tina's. In fact, now I'm on a mission to make a batch of fig jam! Stay tuned . . .


Pizza Dough

Ingredients:

  • 1 teaspoon active dry yeast
  • 2 cups water at room temperature
  • 4-1/2 cups bread flour
  • 1-1/2 teaspoons salt
  • Cornmeal

Directions:

  1. Mix yeast and water. Set for 2 minutes. Add bread flour to yeast mixture. Place salt on top of bread flour. Mix together for approximately 2 minutes with either a stand mixer or by hand. The dough will be soft and sticky. Place in a gallon ziplock bag and refrigerate for 1-5 days so that the dough will double in size.
  2. Preheat Big Green Egg (or oven) to 500 degrees.
  3. Divide dough into 3 equal parts. Stretch and fold each round of dough 4 times, then allow the dough to rest for approximately 20 minutes. While resting, cover the dough with a thin wet dish towel to prevent the dough from drying out. Repeat the stretch-fold-rest cycle five times. For the last cycle though, let the dough rest for approximately an hour so that the dough will rise about 1.5 times in size. 
  4. Now you're ready to make the crust. Place each round of dough onto a floured surface to remove some of the stickiness. Next, shape each round of dough into a thin pizza crust. Place on a pizza peeler that has been generously coated with cornmeal so that it will easily slide off onto the Big Green Egg. 
  5. Top each crust with your favorite toppings. 
  6. Bake each pizza for only 5 minutes in the Big Green Egg that has reached 500 degrees.
Note: For artisan bread, only use 1.5 cups of water. Follow steps 1-3 above. Score the loaves and place on a floured cookie sheet. Lightly spray with water. Bake at 500 degrees for 5 minutes. Reduce the temperature to 450 degrees and bake for another 15 minutes or until done. 

Recipe adapted from the class, "Bread, Butter, and Jam" taught by Sadira Ebert at Southern 71, a wonderful place to "gather, shop, and share" in our Westhaven community.

Thursday, August 11, 2016

Fifth Annual Cinnamon Roll DOE

This week, I taught another class on experimental design concepts. Time for another cinnamon roll DOE! Each year, I have a different theme. Recall the themes from past experiments:


This year's theme was Maple Bacon! It seems bacon is especially popular right now for many foodies:  bacon milkshakes, bacon pancakes, bacon you-name-it. One of our local bakeries sells maple bacon doughnuts that are extremely popular. That's what prompted this theme.

Here are the new questions I wanted this experiment to answer:

1. Does roll size matter? Usually I make rather large cinnamon rolls. What if I made them more like Burger King's cini-minis?


2. Does freezing the starter make a difference? My starter is 27 years old, which is quite unusual. Not surprisingly, I've always nurtured it. When my friend Nancy shared that she froze the starter I gave her because of her two-week trip to Australia, I seriously wanted to gasp. No way! I am so grateful she was so bold to do this because I certainly wouldn't have been so daring. Currently, I have to "feed" the starter every two weeks, so if freezing the starter didn't affect the rolls, that would be a huge find. I would be able to take a break from this type of baking for extended periods of time, if desired.

3. Does freezing the rolls make a difference? I tested freezing the rolls twice before: in the Second Annual Cinnamon Roll DOE as well as the Third Annual Cinnamon Roll DOE. In both of those experiments, I learned that freezing actually hurt. Darn. I still don't want to give up. In these previous experiments, I froze the cinnamon rolls after I baked them. What if instead, I froze the rolls before I baked them? 

4. Is a maple icing better than the plain sugar glaze that I normally use?

5. Should I top the cinnamon rolls with bacon or not?

6. Do males have different cinnamon roll preferences than females?

As before, for those of you who just want to bypass the details and simply find the answers to these questions, simply scroll to the bottom of this post. For the rest of you . . .

Here is another way of listing the factors, or changes, that I wanted to try:

Factor:                   Current Condition:     Change to Try:
A:Roll Size                Large                          Small
B: Starter                  Refrigerated               Frozen
C: Rolls                     Fresh                          Frozen
D: Icing                     Plain                            Maple
E: Topping                No topping                 Bacon topping
F: Gender                 Female                       Male

I made 8 different batches of cinnamon rolls, each with differing combinations of above. (Nerd alert:  I conducted a resolution III,  2^6-3 fractional factorial design with 10 replicates.)

The following four batches were made fresh this morning (not frozen first):

Recipe 1: Small cinnamon rolls made with dough from a refrigerated starter. Topped with maple icing and bacon. Taste tested by a male.


Recipe 2: Large cinnamon rolls made with dough from a refrigerated starter. Topped with plain icing. Taste tested by a male. (This was status quo condition, or the control group.)


Recipe 3: Small cinnamon rolls made with dough from a frozen starter. Topped with plain icing and bacon. Taste tested by a female.


Recipe 4: Large cinnamon rolls made with dough from a frozen starter. Topped with maple icing. Taste tested by a female.


The following four batches were made last week and frozen before baking:

Recipe 5: Small cinnamon rolls made with dough from a refrigerated starter. Topped with maple icing. Taste tested by a female.


Recipe 6: Large cinnamon rolls made with dough from a refrigerated starter. Topped with plain icing and bacon. Taste tested by a female.


Recipe 7: Small cinnamon rolls made with dough from a frozen starter. Topped with plain icing. Taste tested by a male.


Recipe 8: Large cinnamon rolls made with dough from a frozen starter. Topped with maple icing and bacon. Taste tested by a male.


As before, I asked each student/co-worker who wanted to participate in this experiment to taste a particular batch (or batches) of cinnamon rolls. (A big thanks to all who participated!) Then, each was asked to provide a "likeability" score (using a 1-5 scale) by completing the following survey:


My plan was to collect 10 surveys for each batch, for a total of 80 observations. However, one batch only yielded 7 surveys and another one only had 9. So, admittedly, there were a few missing observations. After analyzing the results, I learned that only the topping (Factor E) significantly affected the likeability score. This is depicted in the chart below by the very long bar.


Even though most of the responses were very favorable, I learned that the topping (Factor E) had the most significant negative effect on the likeability score. Adding the bacon on top actually hurt. What? This surprised me! 


In fact, one of my buddies Brian said, "If you wrap bacon on a shoe sole, I'll eat it."  I would have thought most people would have agreed! :) But this leads me to another significant find. Scores were all over the place when evaluating the bacon topping. However, answers were more in agreement without the bacon topping.


The remaining factors didn't significantly affect the likeability score. I've said more than once that some of the most significant findings in an experiment are those things that are actually insignificant. (Yes, it sounds like a Yogi Berra quote.)
  • Roll size doesn't matter. Make cinni-minis if you'd like!
  • Freezing the starter doesn't matter. Yeah! Nancy was right. If I want to take a sabbatical from baking, I'll be able to do it now. 
  • Freezing the rolls before baking them doesn't matter. This will be so convenient! I'll be able to make many to freeze, then pull out only a few for baking at one time as opposed to baking a whole pan.
  • The type of icing in this case didn't help or hurt. The maple icing was more expensive to make, so now I know this additional investment isn't worth it.
  • Males didn't have significantly different preferences than females. This surprised me, too. I speculated that males would prefer bacon, but females would not. (Insert your best Tim the Toolman Taylor grunt here.) That just wasn't the case.
Once again, these results were more like the very first cinnamon roll DOE. It looks like I should simply "leave well enough alone." Until next year. . . . 


Brian: "If you wrap bacon on a shoe sole, I'll eat it."


Friday, April 8, 2016

Caramel French Toast

This week, our tennis captain, Margaret Ann, hosted a brunch to kick-off the spring Nalta season. We enjoyed two different types of quiche from The Puffy Muffin as well as their poppy seed bread. Fresh fruit was served as a healthy choice, but I'm not sure anyone had the willpower to refuse her caramel French toast. If you're looking for a decadent, yet easy, perfect recipe for brunch, look no further. This stuff was amazing!


After we enjoyed the meal and conversation, our fearless captains gifted each of us with our new team uniform: bright, fluorescent yellow shoe laces. :D (Thanks Mam and Nancy!) They definitely brought us luck as we won our season opener in our new A-3 division.

I'm predicting this is going to be one special season. In fact, they all have been. It takes a pretty special team to advance to a new division every season. Admittedly, I'll be especially embracing every moment given that Keely is now part of team Overserved . . . as my partner!

Caramel French Toast

Ingredients:
  • 1-1/2 cups packed brown sugar
  • 3/4 cup butter
  • 6 tablespoons light corn syrup
  • 10 French bread slices, torn (or homemade sourdough bread!)
  • 4 eggs, beaten
  • 2-1/2 cups milk
  • 1 tablespoon vanilla
  • 1/4 teaspoon salt
  • 3 tablespoons sugar
  • 1-1/2 teaspoon cinnamon
  • 1/4 cup butter, melted
Directions:
In medium saucepan, combine brown sugar, 3/4 cup butter and corn syrup. Cook over medium heat, stirring constantly for 5 minutes until bubbly. Pour syrup evenly into a lightly greased casserole dish. Place torn bread over syrup.
Combine eggs, milk, vanilla, and salt. Stir well and pour over bread. Cover and refrigerate at least 8 hours or overnight.
Preheat oven to 350 degrees. Combine sugar and cinnamon and sprinkle on top. Drizzle melted butter over top. Bake uncovered for 45-50 minutes or until bubbly and golden brown.


Thursday, November 26, 2015

Thanksgiving Breakfast

Although we no longer have little ones in our household, I still get a kick out of seeing the cute turkey veggie tray that Keely made a few years ago as well as the one I made last year. This year? Keely hinted for me to make these turkey-looking cinnamon rolls. Seriously? How could I resist?


I can't wait to see the look on Steve's and Keely's eyes when they see what I have in store for them for breakfast. Yes, it's the little things. I may have just started a new tradition!

Happy Thanksgiving! :)

Thursday, November 20, 2014

Cinnamon Rolls 101

After sharing some of my homemade cinnamon rolls with my tennis buddies, some of them asked, "Will you teach me?" Why, of course! In the spirit of Thanksgiving, I decided to hold my first baking class. We had a blast!

I began preparing a couple of weeks in advance to make sure there were enough starters (a concoction of potato flakes, sugar, and warm water) for everyone. Then, I fed each of the starters Tuesday night. The first session began on Wednesday morning when we each made a batch of dough. Let the rising begin!

Let the rising begin!
The main session took place that same evening. First, I had to get everything ready. At each of the five stations, you could find waxed paper, bread flour, butter, brown sugar, cinnamon, etc. I knew this would be the "calm before the storm."

The "calm before the storm."
Ready, set, go! First, literally punch down the dough. It's crazy how something so simple can be so silly and satisfying!

Punching down the dough!
 I took them through the major steps of rolling out the dough, spreading on butter, layering the brown sugar and cinnamon, rolling up the dough, cutting the "log" into the cinnamon rolls, and laying them out in the pan. I also showed how to use the dough to make a basic loaf of bread.

Lots of concentration here from Karen, Kristy, Margaret Ann, and Nancy.
Kristy can't be serious for long! :)
By the end of the session, most every surface was covered with cinnamon rolls!

This is one proud Margaret Ann. (And she should be!)
Nancy proudly displays her finished product as well!
The last session took place this morning and in my absence. After rising all night long, the only thing left to do was to put them in the oven and then top with icing. It thrilled me to hear that there were a lot of happy campers this morning.
The Montgomery brothers (Mims, Cole, and Penn) happily served as taste testers.
Out of the mouth of babes: Admittedly, Cole said that "Puckett's is better." Ya gotta love such brutal honesty. For a moment, I was reminded of the movie scene in Michael:

 Battle!

I'm not ready to concede just yet. So, you can bet that I'll be heading to Puckett's of Leiper's Fork to do some competitive benchmarking analysis! I'm betting that I may discover new factors that I can experiment with. Hmmmmmm. Maybe I can count this as work. Take one for the team, right? :D

In the mean time, I'm already thinking about things that I'm grateful for during this season. With experiences like this, my list has grown.

Tuesday, March 18, 2014

Poppy Seed Bread

So many babies in the Harness family! Four cousins ended up getting pregnant within a year of each other. First, Apryl. Second, Buffy. Next, Hayley. Lastly, Hannah. (Keely, stay away from that water!) I'm already looking forward to Christmas when we'll all be together. In the mean time, this means more party planning.  All it takes is a good theme. For Hayley and her fun personality, we're using a "Ready to Pop!" theme. The invitations were a blast to design and make. How cute can she be?

My sister Jackie, sweet friend Damaris, and I are planning on serving lots of different foods with POP! in the name. For example, how about POPpy seed bread? I don't want to spoil any more surprises, but you get the idea.

What a perfect excuse to make poppy seed bread from The Puffy Muffin, a favorite dessert bakery and restaurant in Nashville. Steve has had their wonderful bread, so his eyes lit up when I told him I needed to test their recipe before the shower. (Take one for the team, right?)

This one's a keeper. Perfect for any shower, spring get-together, Easter, or any other excuse you can muster up.


Stay tuned for more poppin' party details in a couple of weeks!

Poppy Seed Bread

Ingredients for bread:
  • 3 cups flour
  • 2-1/4 cups sugar
  • 1-1/2 teaspoons baking powder
  • 1-1/2 teaspoons salt
  • 3 eggs
  • 1-1/2 cups milk
  • 1-1/2 cups vegetable oil
  • 1-1/2 tablespoons poppy seeds
  • 1-1/2 teaspoons vanilla extract
  • 1-1/2 teaspoons almond flavoring
  • 1-1/2 teaspoons butter flavoring
Ingredients for glaze:
  • 3/4 cup sugar
  • 1/4 cup orange juice
  • 1/2 teaspoon vanilla extract
  • 1/2 teaspoon almond flavoring
  • 1/2 teaspoon butter flavoring
Directions:
Combine all of the main ingredients for the bread. Beat for 2 minutes with a medium speed mixer. Pour into two greased loaf pans. Bake at 350 degrees for 1 hour. Combine all of the glaze ingredients. Mix well with a wire whisk. Pour over hot, just-out-of-the-oven bread.

Recipe adapted from the Puffy Muffin's cookbook, Taste Imagination.

Thursday, October 3, 2013

Pumpkin Bread

One of my favorite things about moving into our new neighborhood is getting back into the swing of things with my tennis game. No pun intended. OK. Yes, pun intended. From day one, this special group of ladies made me feel so welcomed! Today was our first home match, and I learned that we provide snacks for the visiting team. What should I bring? Pressure's on! I decided to go with an oldie, but goodie, especially for this time of year: pumpkin bread. For family members, you'll notice that this recipe is already in the family cookbook.


One of Keely’s favorite foods is Panera Bread’s pumpkin muffins. So, I was determined to find a recipe that would duplicate them. Everything I tried wasn’t nearly as moist. This recipe, however, is as close as it gets. I’m not surprised, though, since it calls for 1-1/2 cups of oil!  It’s so worth it. The chocolate chips are technically optional, but who would want to skip those?

In addition to having a variety of salty and sweet treats, I was told that we also provide drinks for the opposing team. Oh, and not just water. With a team name of Over Served, I wasn't surprised! :) I was hoping to share the recipe for Milk Punch. (Don't let the kid-friendly-sounding-name fool ya.) All of my new tennis buddies kept saying how wonderful it is. Apparently, it's an "Ole Miss thing." Unfortunately, our team captain who is known for this concoction was out of town. Darn!

We had a beautiful spread nonetheless:


If only I had selected a coordinating platter! This time of year, most people know my blood runneth orange. You think I'll ever get used to this red and black stuff? :)


 Pumpkin Bread

Ingredients:
  • 3 cups all-purpose flour 
  • 2 teaspoons ground cinnamon 
  • 1 teaspoon salt 
  • 1 teaspoon baking soda 
  • 4 eggs 
  • 2 cups sugar 
  • 2 cups canned pumpkin 
  • 1-1/2 cups canola oil 
  • 1-1/2 cups (6 oz) semisweet chocolate chips (optional)
Directions:
In a large bowl, combine the flour, cinnamon, salt and baking soda. In another bowl, beat the eggs, sugar, pumpkin and oil. Stir into dry ingredients just until moistened. Fold in chocolate chips (optional).

Pour into two greased 8-in. x 4-in. loaf pans. Bake at 350° for 60 minutes or until a toothpick inserted near the center comes out clean. Cool for 10 minutes before removing from pans.

Tips: For mini bread loaves, bake for 50 minutes.
For extra large muffins, bake for 25 minutes.
For regular size muffins, bake for 20 minutes.
For mini muffins, bake for 10 minutes.

Pin It button on image hover